


Quite a while ago (last year), I came across some of the easycomposites videos about making carbon fibre stuff. The videos made it look really easy (ha!) and I wanted to replace a few panels on my car as they are looking a bit tatty through age and an off road excursion. Clearly it made sense to replace them (and build some other bits) with carbon fibre; but the kit involved quite a lot of £££, so I postponed.
Then 2 weeks ago, I thought 'sod it' and invested in a resin infusion kit and some materials...
The ultimate aim will be to make the following (roughly in priority order); boot panel, cycle wings, flared side panels, dash, aeroscreen, transmission tunnel cover, arches, anything else that looks like it could be cf...
Firstly, I decided to try and make a simple flat panel (to use as a boot panel) to let me understand the techniques before progressing to more complicated stuff, so did that this weekend. I emailed a few people (including a chap on pistonheads who has made a whole cf body for his Noble) and got some advice to try and avoid some basic mistakes.
To be continued, with pictures...
Making Carbon Fibre...
Moderator: Contaminated
-
OliilO
- Posts: 102
- Joined: Thu Dec 19, 2013 5:04 pm
- Location: Brookwood
- Contact:
-
Crunchie Gears

- Posts: 3617
- Joined: Mon May 21, 2012 7:08 pm
- Location: Bracknell
- Contact:
Re: Making Carbon Fibre...
Like your style 
When you have cracked the flat panel and doing some other stuff I would be up for joining you and see how it is done!
I have had some bits made in carbon for the Westfield including exhaust mounts, fuel filter mount, heat shield for starter motor, go pro mounts, can covers, hub caps (I have not worked out how to fix them on yet but they look cool) just for ideas. Mick from Autocross, who made them, has now retired so ------.
Although light weight does not need to be a continuing obsession for me once the Westie is gone.
-
OliilO
- Posts: 102
- Joined: Thu Dec 19, 2013 5:04 pm
- Location: Brookwood
- Contact:
Re: Making Carbon Fibre...
So, after spending over half a bag of sand (  ) on stuff to make shiny things, I felt a bit affronted to be charged £10 for P&P. When it all turned up though, I felt it wasn't so bad...
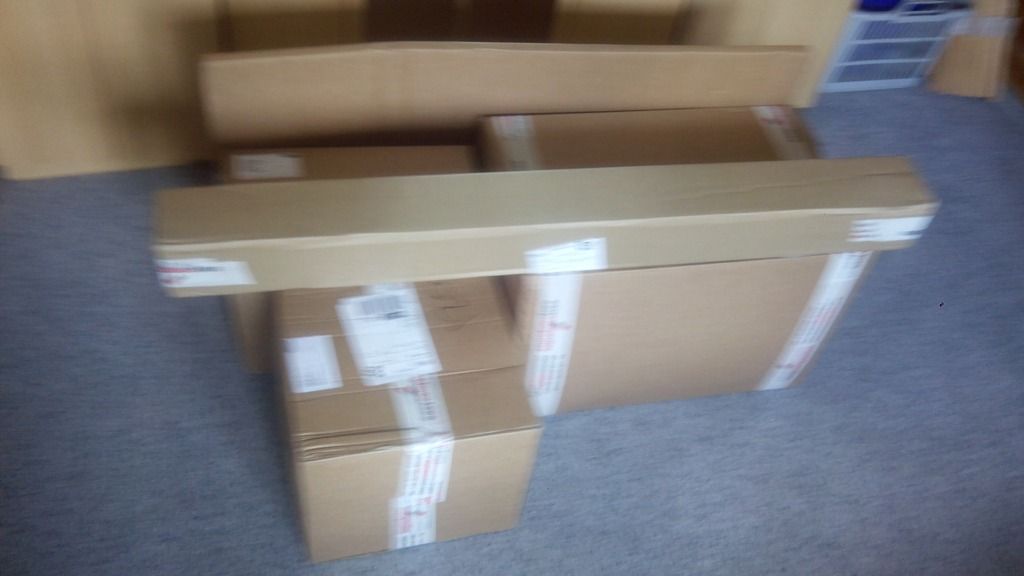
Apologies for poor quality pictures from a phone.
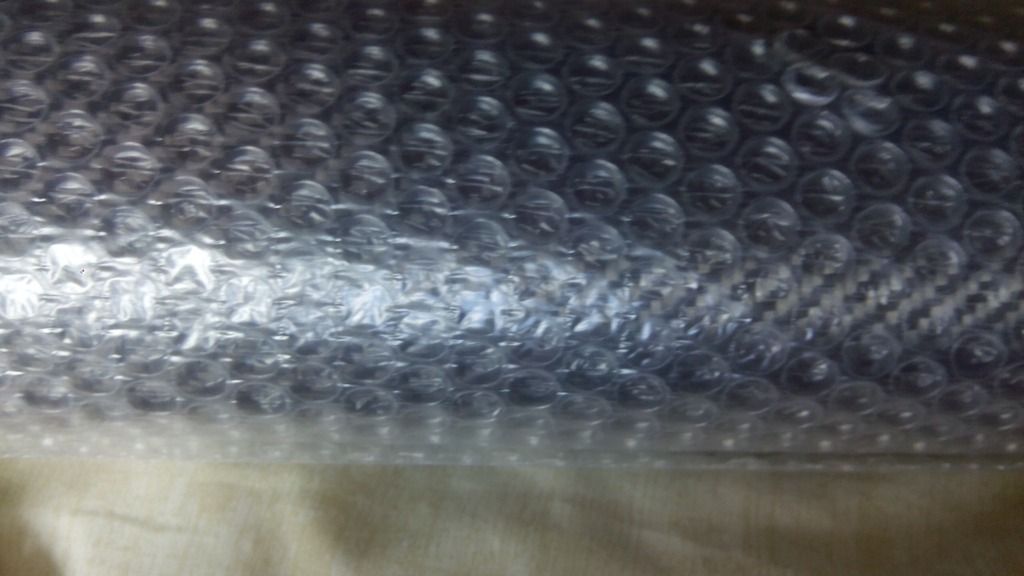
Including a nice roll of carbon fibre cloth:
On Friday night I turned the conservatory into a makeshift workshop and decided to crack on with giving it ago. After all, how hard could it be?
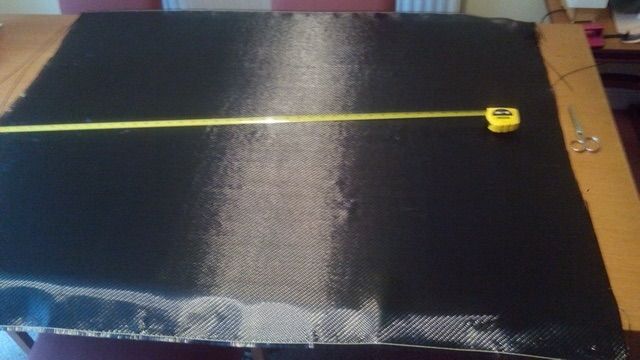
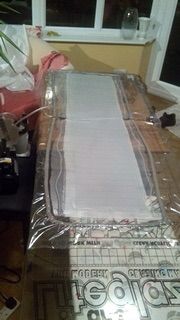
I used an acrylic sheet as a base, after checking with that the acrylic and resin wouldn't react. I then applied 4 coats of easylease release agent as per the instructions, before cutting the cloth to size. For this, I just wanted to make a boot cover so measured it out and then gave myself a decent size margin to make sure I could trim the edges of the finished part and get a good finish.

Apologies for poor quality pictures from a phone.
Including a nice roll of carbon fibre cloth:

On Friday night I turned the conservatory into a makeshift workshop and decided to crack on with giving it ago. After all, how hard could it be?
I used an acrylic sheet as a base, after checking with that the acrylic and resin wouldn't react. I then applied 4 coats of easylease release agent as per the instructions, before cutting the cloth to size. For this, I just wanted to make a boot cover so measured it out and then gave myself a decent size margin to make sure I could trim the edges of the finished part and get a good finish.

-
OliilO
- Posts: 102
- Joined: Thu Dec 19, 2013 5:04 pm
- Location: Brookwood
- Contact:
Re: Making Carbon Fibre...
I used 4 layers of 200gsm cloth, which in hindsight might have been too few layers. I laid the layers on the prepared area of acrylic and made sure the first layer was laid out as well as possible as this would become the visible surface of the finished part.
Then built up the layers; a layer of peel ply on top of the cf, followed by the infusion mesh. Both cut to be slightly larger than the cf material. I used infusion spiral at both sides of the part, but maybe should have used it only on the resin 'entry side'.
I then added the bagging material, trying to ensure a good seal all around the part. Then came the first big moment; connecting it to the pump and drawing a vacuum. All seemed good and after a bit of fiddling it seemed to be holding a good vacuum so I clamped off the pump, turned it off and waited to check there were no leaks. After 10 minutes the gauge hadn't dropped, so I thought I was ok to proceed.
So, mixed up the resin, unclaimed the line and started to draw resin through the part. Then realised I was going to run our of resin. Crap!!! So mixed some more up quickly and saved that mistake.
After infusing it and clamping off both feed and pump lines, I noticed a load of bubbles appearing in the infusion mesh so had a panic. I then realised I had a vacuum leak and had visions of spoiling £50s worth of materials...
Fortunately I found the leak and reseated it before doing what your never supposed to do. With the part clamped off, I broke the seal on the catch pot and retrieved all the excess resin that had accumulated there before redrawing a vacuum and re infusing the part. Some bubbles still remained but it looked better than before, so I sort of belieevd that I'd spoiled the part, left it to cure and went to bed accepting I couldn't do any more.
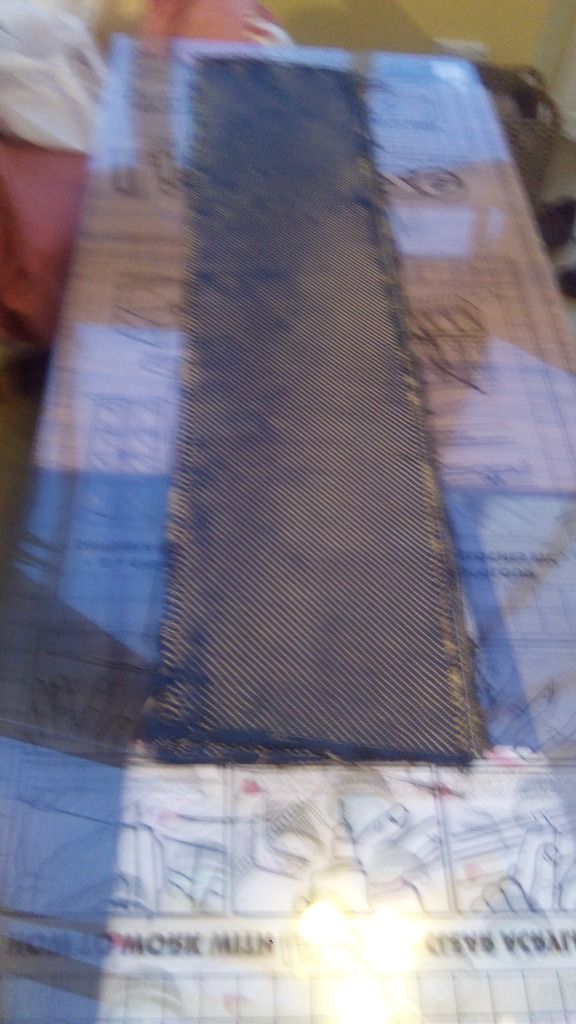
I left it about 30 hours to cure, resisting the temptation to look at it early, and stripped off all the consumables this morning to leave me with the following:
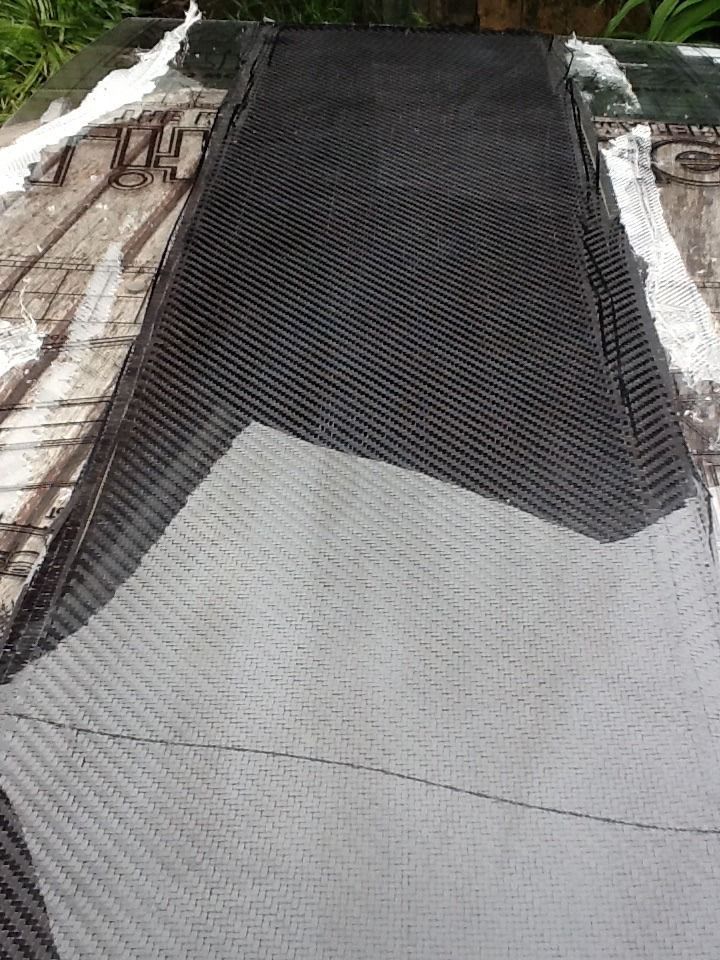
Success! I was elated that it came out as well as it did... The line in the foreground is a shadow from the washing line and the strands on the right are on the edge that will be trimmed off to get the part to size. The finish isn't perfect, there are a few places where the strands have separated slightly but it's pretty good. I'm more than happy with it as a first attempt.

Then built up the layers; a layer of peel ply on top of the cf, followed by the infusion mesh. Both cut to be slightly larger than the cf material. I used infusion spiral at both sides of the part, but maybe should have used it only on the resin 'entry side'.
I then added the bagging material, trying to ensure a good seal all around the part. Then came the first big moment; connecting it to the pump and drawing a vacuum. All seemed good and after a bit of fiddling it seemed to be holding a good vacuum so I clamped off the pump, turned it off and waited to check there were no leaks. After 10 minutes the gauge hadn't dropped, so I thought I was ok to proceed.

So, mixed up the resin, unclaimed the line and started to draw resin through the part. Then realised I was going to run our of resin. Crap!!! So mixed some more up quickly and saved that mistake.
After infusing it and clamping off both feed and pump lines, I noticed a load of bubbles appearing in the infusion mesh so had a panic. I then realised I had a vacuum leak and had visions of spoiling £50s worth of materials...
Fortunately I found the leak and reseated it before doing what your never supposed to do. With the part clamped off, I broke the seal on the catch pot and retrieved all the excess resin that had accumulated there before redrawing a vacuum and re infusing the part. Some bubbles still remained but it looked better than before, so I sort of belieevd that I'd spoiled the part, left it to cure and went to bed accepting I couldn't do any more.
I left it about 30 hours to cure, resisting the temptation to look at it early, and stripped off all the consumables this morning to leave me with the following:

Success! I was elated that it came out as well as it did... The line in the foreground is a shadow from the washing line and the strands on the right are on the edge that will be trimmed off to get the part to size. The finish isn't perfect, there are a few places where the strands have separated slightly but it's pretty good. I'm more than happy with it as a first attempt.
-
OliilO
- Posts: 102
- Joined: Thu Dec 19, 2013 5:04 pm
- Location: Brookwood
- Contact:
Re: Making Carbon Fibre...
So what did I learn?
1. Patience is a virtue... Take the time to ensure everything is correct and don't rush anything.
2. If making a flat sheet, screw the plastic down to something to stop it warping under vacuum (I had to weight the corners down).
3. Make liberal use of tape to stick the different layers in place.
4. I'd have been better infusing along the long axis. I thought it would be best to go across the part, but this just meant the middle was fully infused and drawing resin to the catch pot while the corners hadn't drawn any resin
5. Make 100% sure you've not got any leaks and do a 30 minute leak test
6. Make more resin than you think you'll need.
7. Dont panic; a few bubbles in the infusion mesh isn't the end of the world.
8. Again, ensure you've got a 100% seal before infusing!
And finally, don't spill resin in the conservatory...
-
greenwoo
- Site Admin
- Posts: 10185
- Joined: Thu Dec 03, 2009 10:34 am
- Contact:
Re: Making Carbon Fibre...
good effort ...
can you put into context what your investment would allow you to do in terms of quantity?
ie/ out of your initial gear how many dashboards would you have enough material for, or side panels ( exterior of a 7 )...and the vacuum bag - was that part of the kit, different sizes available or??
can you put into context what your investment would allow you to do in terms of quantity?
ie/ out of your initial gear how many dashboards would you have enough material for, or side panels ( exterior of a 7 )...and the vacuum bag - was that part of the kit, different sizes available or??
-
kenton
- Posts: 2123
- Joined: Mon Mar 01, 2010 7:38 pm
- Contact:
Re: Making Carbon Fibre...
Very good result for a first go, you made it look almost easy 
I guess anything that involves a "3d shape" is a whole new ball game.
Keep up the progress peports.
K
I guess anything that involves a "3d shape" is a whole new ball game.
Keep up the progress peports.
K
-
OliilO
- Posts: 102
- Joined: Thu Dec 19, 2013 5:04 pm
- Location: Brookwood
- Contact:
Re: Making Carbon Fibre...
In the short term, it probably doesn't make economical sense as a large portion of the outlay is for the vacuum pump.
I spent about £80 on a mould making kit that I should be able to do a couple of medium sized moulds with plus £75 for 3m of carbon fibre cloth which has I expect to do the piece above plus 2 cycle wings with. The 'non consumables', as in pump, resin catch pot etc, probably come to a bit over £200. The rest is consumables such as bagging tape, resin, infusion mesh etc etc. of which I will have a lot left after doing some cycle wings.
I considered just buying some ready made cf, but thought this would work out cheaper in the long term and give me a new skill. Plus, as far as I'm aware, no one makes things like cf flared side panels.
Looking at the Internet, a cf like the one above would probably cost between 80 and 120 quid to buy (granted at a higher quality) which puts it into context.
-
OliilO
- Posts: 102
- Joined: Thu Dec 19, 2013 5:04 pm
- Location: Brookwood
- Contact:
Re: Making Carbon Fibre...
kenton wrote:Very good result for a first go, you made it look almost easy
I guess anything that involves a "3d shape" is a whole new ball game.
Keep up the progress peports.
K
I am pleased with how it came out considering I thought that I had fucked it up on multiple occasions!
The mould making will be the trickiest part for 3D parts. As its laid up dry, I don't foresee the laying up part being too much more difficult. As long as I make large enough flanges on the mould, sealing the bag shouldn't be too much of an issue either.
I'll try and do a cycle wing over the next couple of weeks and post up the progress.
-
b33fy

- Posts: 6334
- Joined: Sat Mar 31, 2012 11:40 am
- Location: Tonbridge
- Contact:
Re: Making Carbon Fibre...
Looks very impressive, I can't make out the finished image, is the finished image looking at it through the acrylic or have you popped it off the acrylic and laid it on top?
Power.. small nail, fast hammer, Torque.. small nail, big hammer.. I got a big hammer 
Return to “Car Related Discussion”
Who is online
Users browsing this forum: No registered users and 33 guests